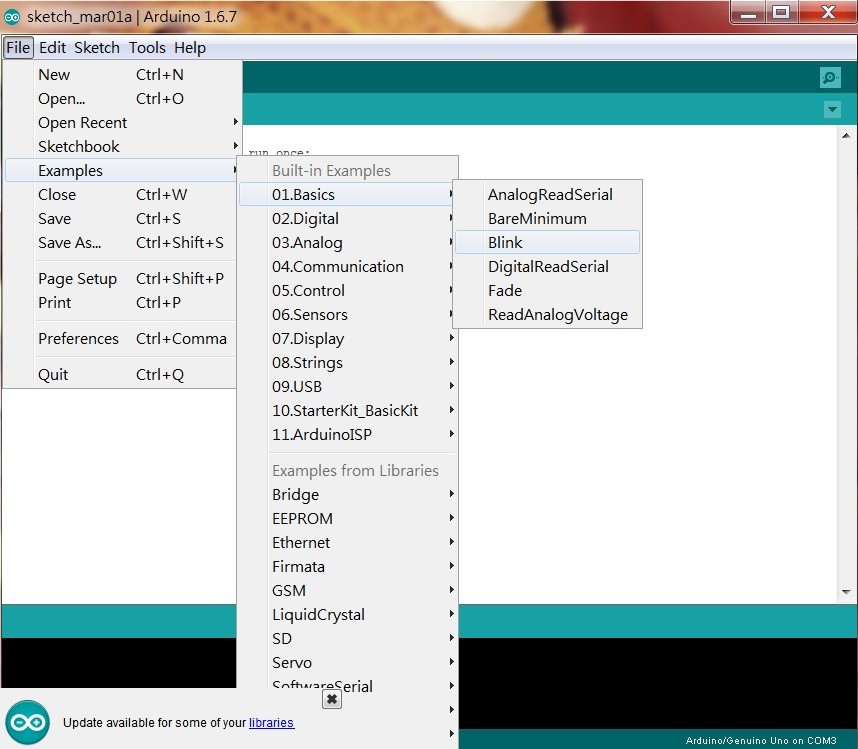
開啟blink範例程式
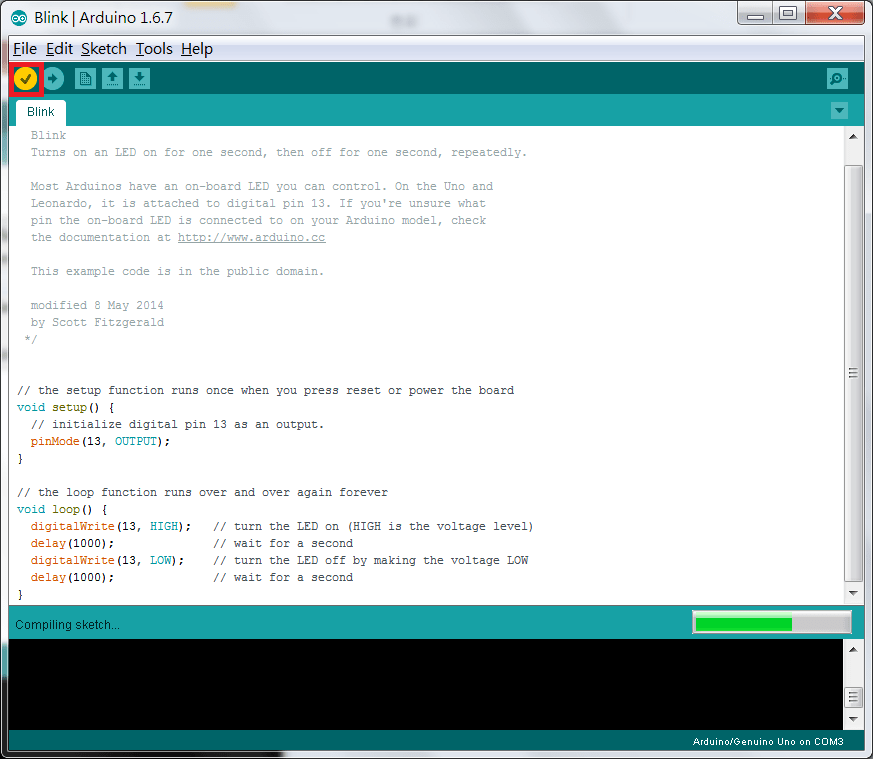
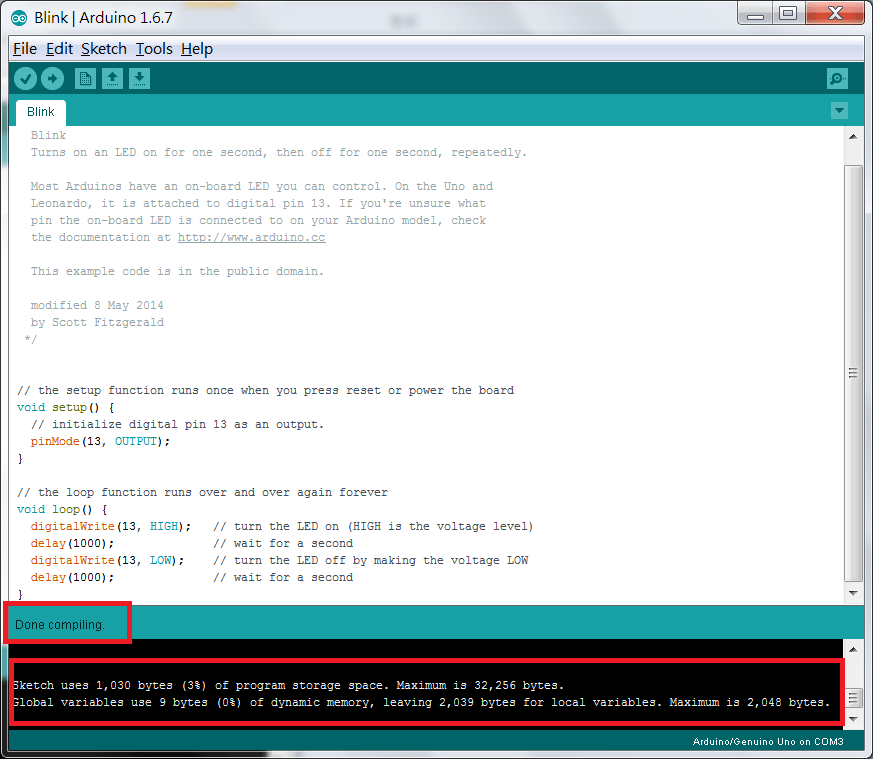
編譯程式中
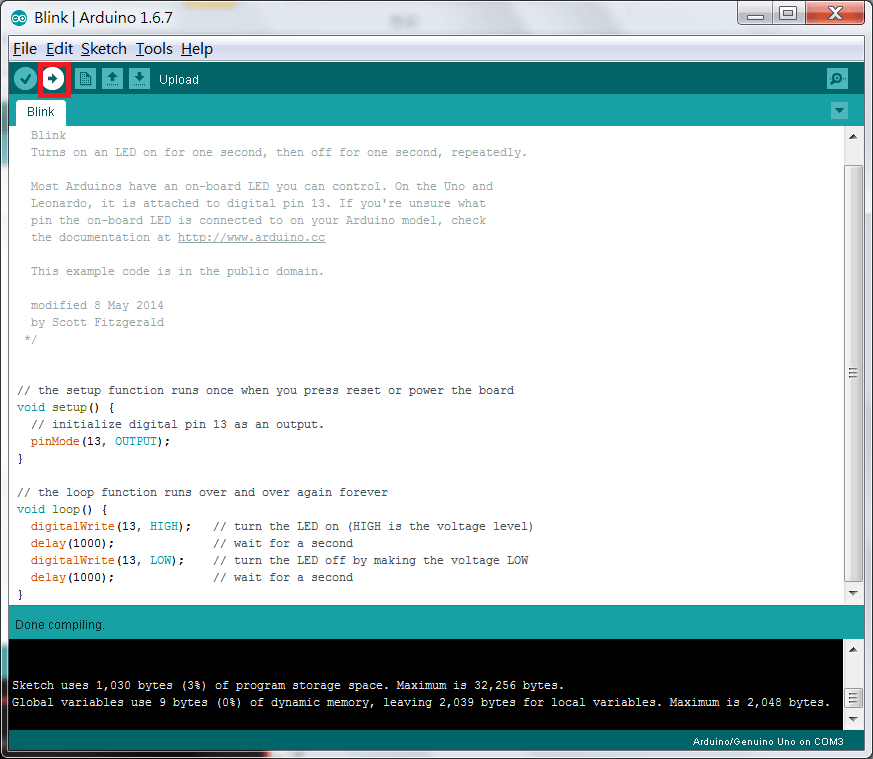
將程式上傳到板子
程式碼的部份
[java]
Blink
Turns on an LED on for one second, then off for one second, repeatedly.
Most Arduinos have an on-board LED you can control. On the Uno and
Leonardo, it is attached to digital pin 13. If you’re unsure what
pin the on-board LED is connected to on your Arduino model, check
the documentation at http://www.arduino.cc
This example code is in the public domain.
modified 8 May 2014
by Scott Fitzgerald
*/
// the setup function runs once when you press reset or power the board
void setup() {
// initialize digital pin 13 as an output.
pinMode(13, OUTPUT);
}
// the loop function runs over and over again forever
void loop() {
digitalWrite(13, HIGH); // turn the LED on (HIGH is the voltage level)
delay(1000); // wait for a second 試著改變 delay()中的數字
digitalWrite(13, LOW); // turn the LED off by making the voltage LOW
delay(1000); // wait for a second 試著改變 delay()中的數字
}
[/java]
執行影片(內建LED)
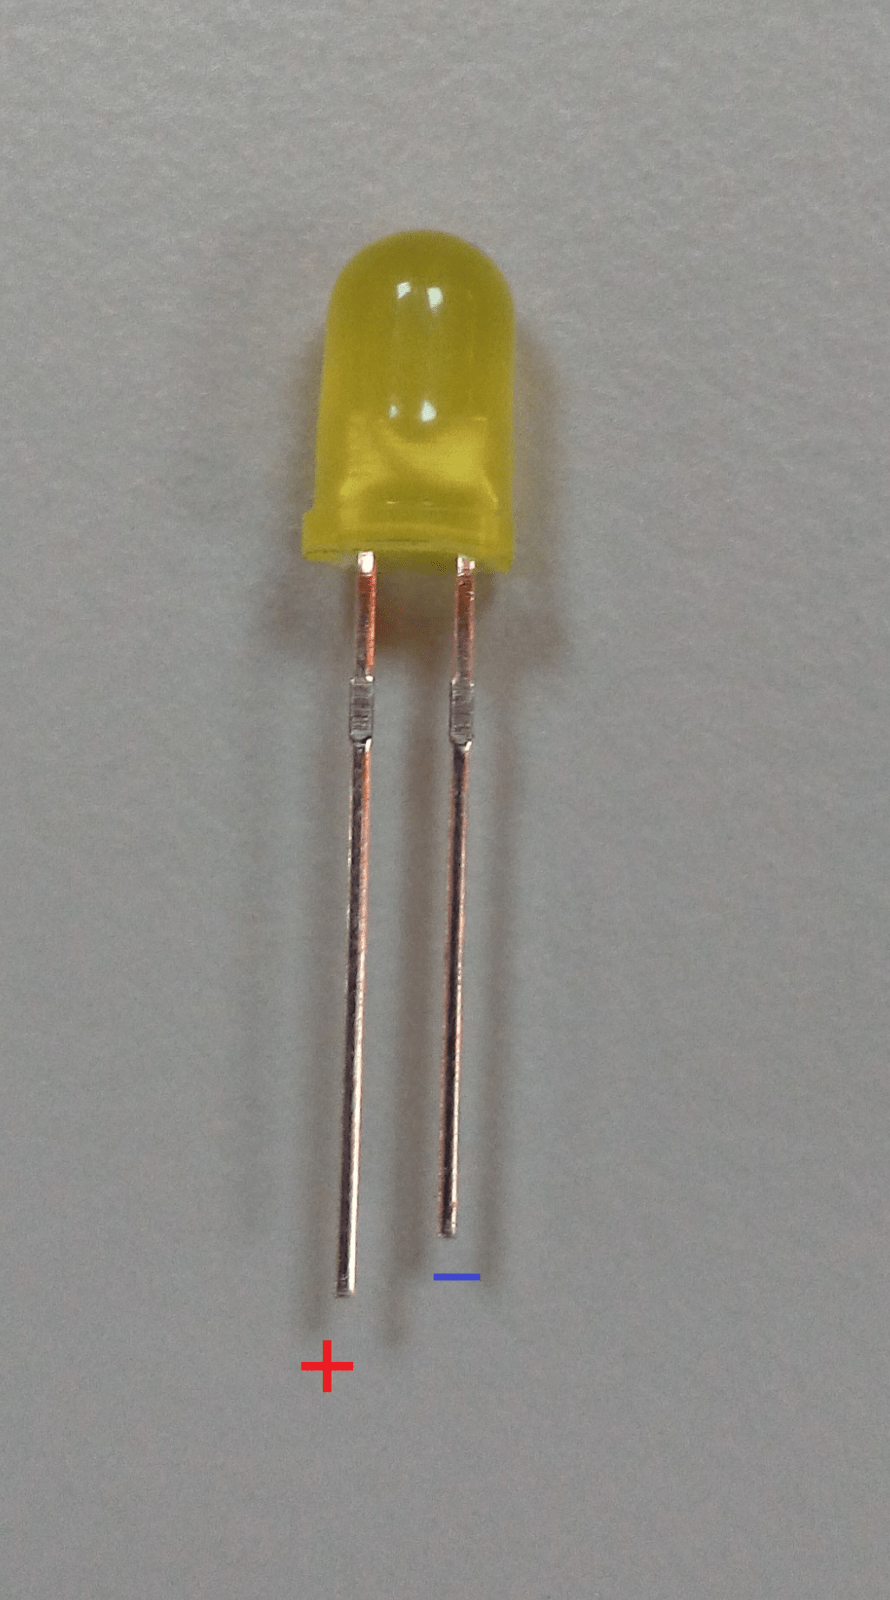
LED 正極負極說明圖
長的為 正極 (LED內部 比較小塊的為正極)
短的為 負極 (LED內部 比較大塊的為負極)
由於有時會將LED的腳位做彎曲的動作 這時請看LED的內部區塊做 正負極的判斷
試著將 LED 的長腳位(正極) 插入版本中 13 的孔位, LED 的短腳位(負極) 插入 GND(接地線)中,如下圖。第一個外接LED就成功了。

執行影片(外接LED)
我要買 5mm LED
我要買 5mm LED 固定座