開啟 fade 範例程式

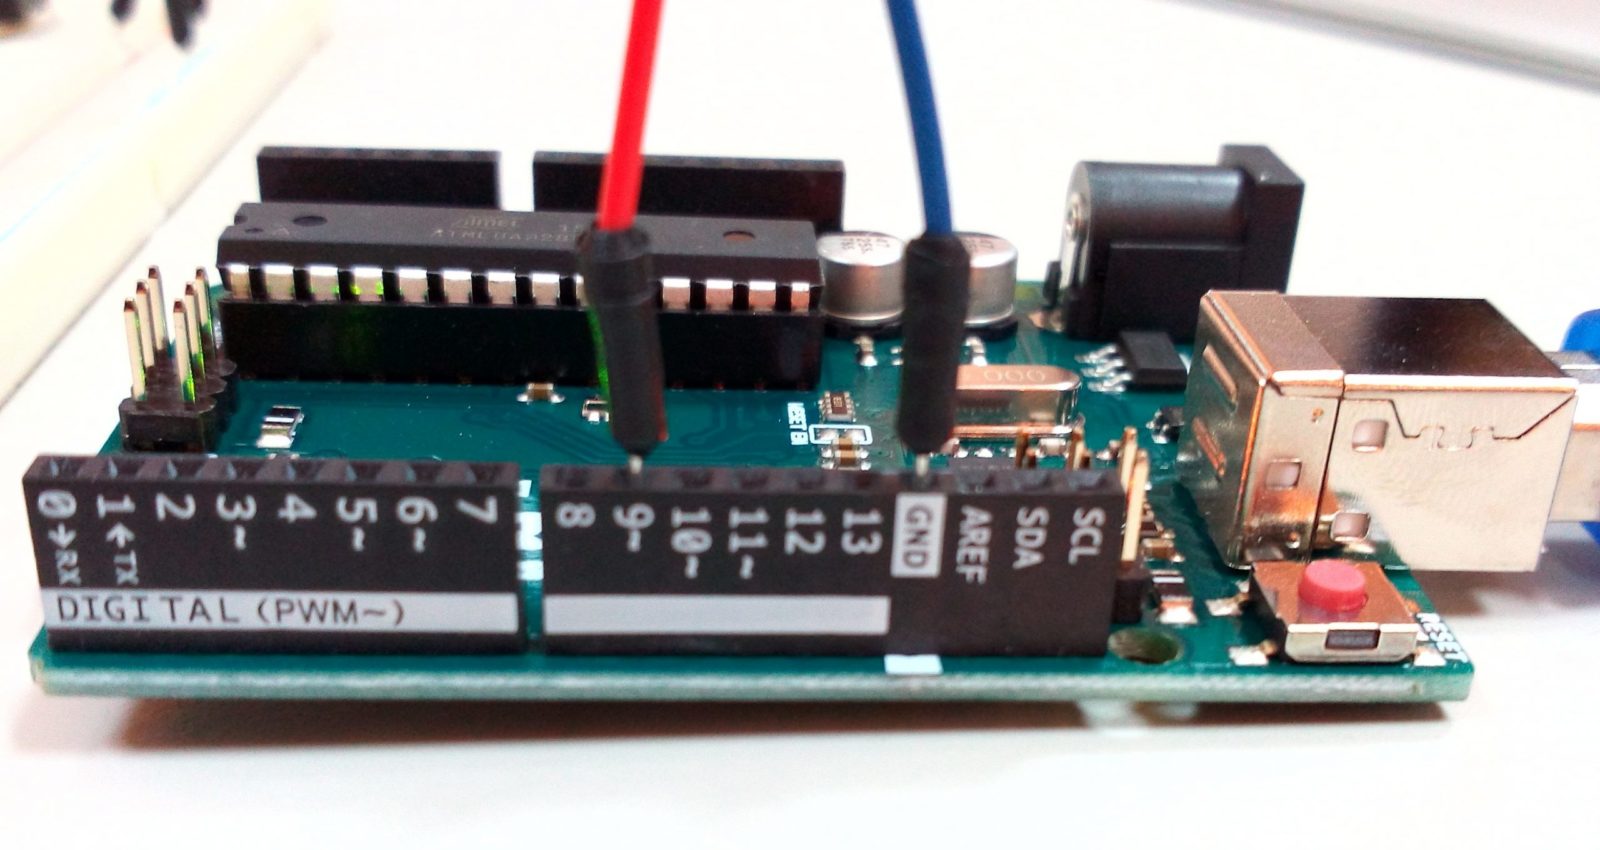
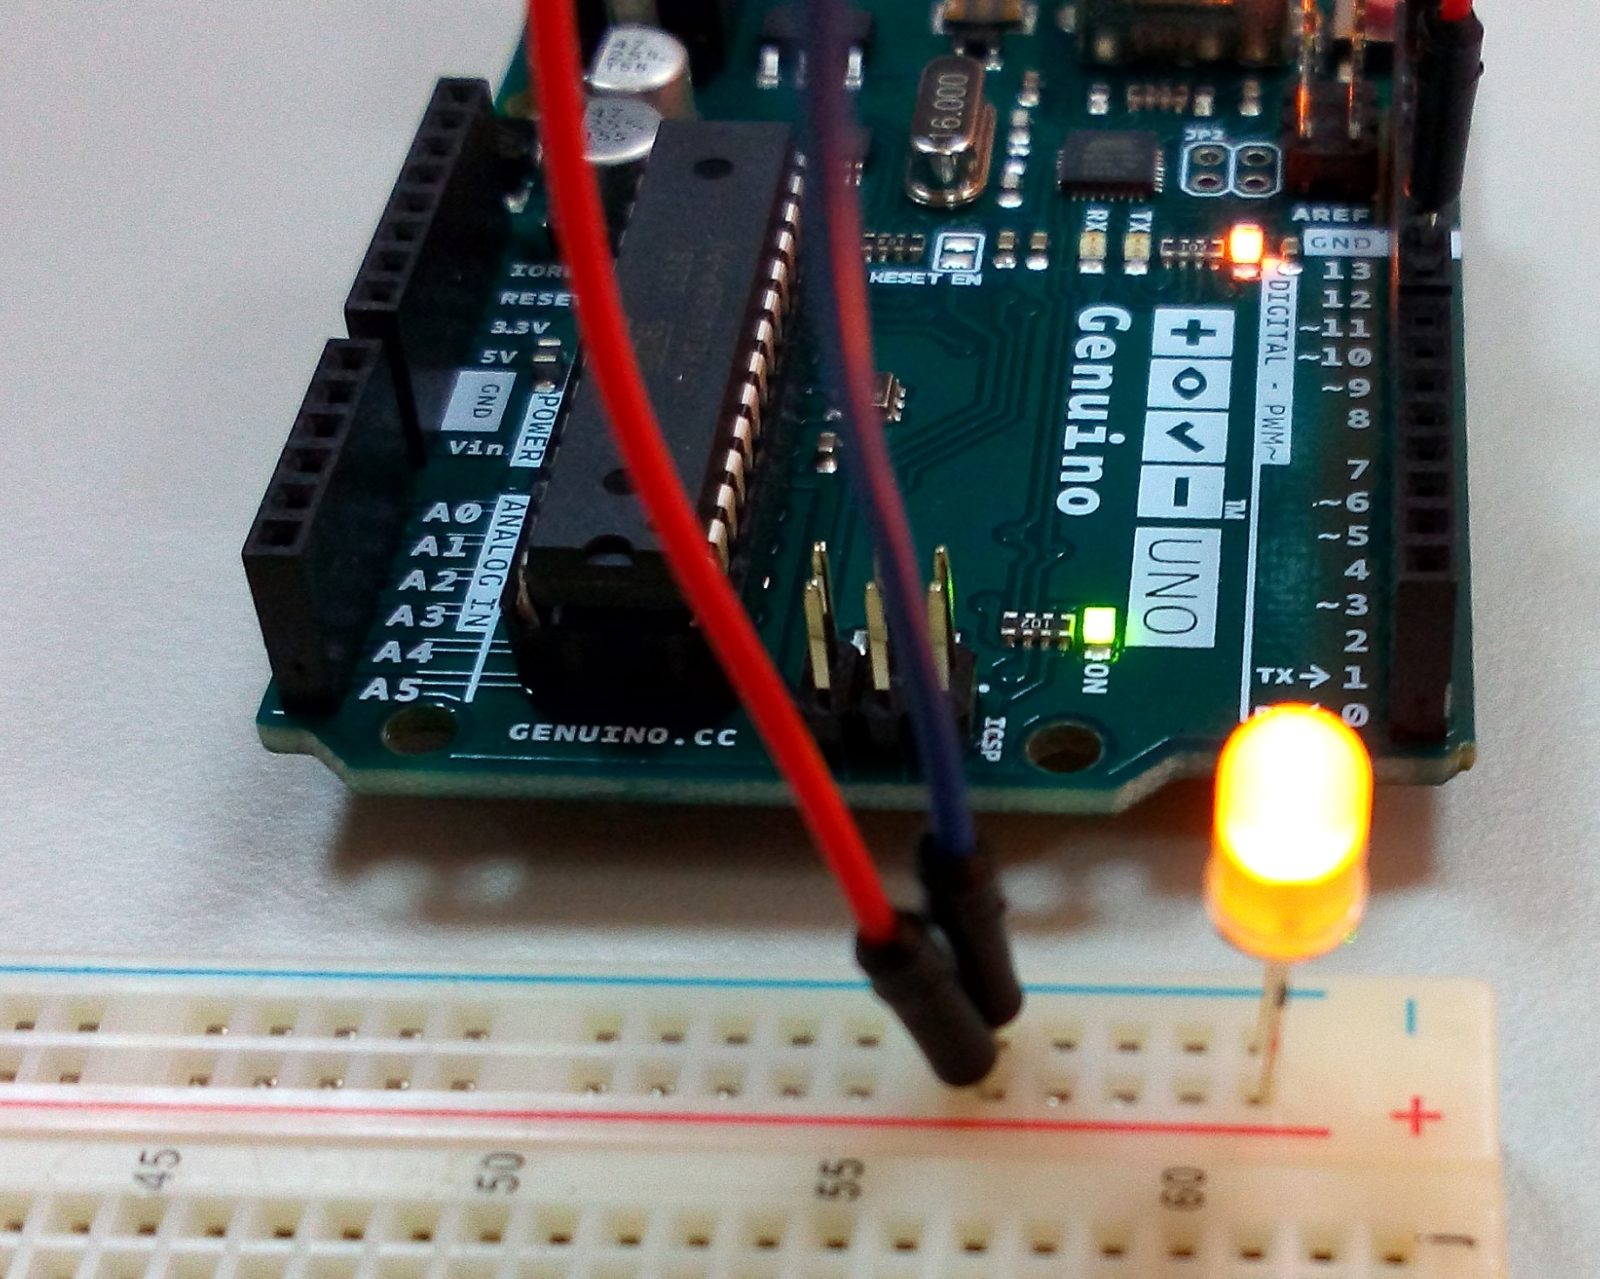
紅色正極 插入 腳位 9 藍色 負極 插入 GND接地線
麵包板上 紅色插入正極 藍色 插入 負極 LED 長腳位插入正極 短腳位插入負極
程式部份
[java]
/*
Fade
This example shows how to fade an LED on pin 9
using the analogWrite() function.
The analogWrite() function uses PWM, so if
you want to change the pin you’re using, be
sure to use another PWM capable pin. On most
Arduino, the PWM pins are identified with
a "~" sign, like ~3, ~5, ~6, ~9, ~10 and ~11.
This example code is in the public domain.
*/
int led = 9; // the PWM pin the LED is attached to
int brightness = 0; // how bright the LED is
int fadeAmount = 5; // how many points to fade the LED by 請試著修改這個值
// the setup routine runs once when you press reset:
void setup() {
// declare pin 9 to be an output:
pinMode(led, OUTPUT);
}
// the loop routine runs over and over again forever:
void loop() {
// set the brightness of pin 9:
analogWrite(led, brightness);
// change the brightness for next time through the loop:
brightness = brightness + fadeAmount;
// reverse the direction of the fading at the ends of the fade:
if (brightness == 0 || brightness == 255) {
fadeAmount = -fadeAmount ;
}
// wait for 30 milliseconds to see the dimming effect
delay(30);
}
[/java]
執行影片